Home
Contact
Copyright
January 16, 2019
Vov
1
November 23, 2018
Menu Lib(e)ro - Dessert and Ice Cream
14
November 18, 2018
Pere Madernassa al Vino
1
November 06, 2018
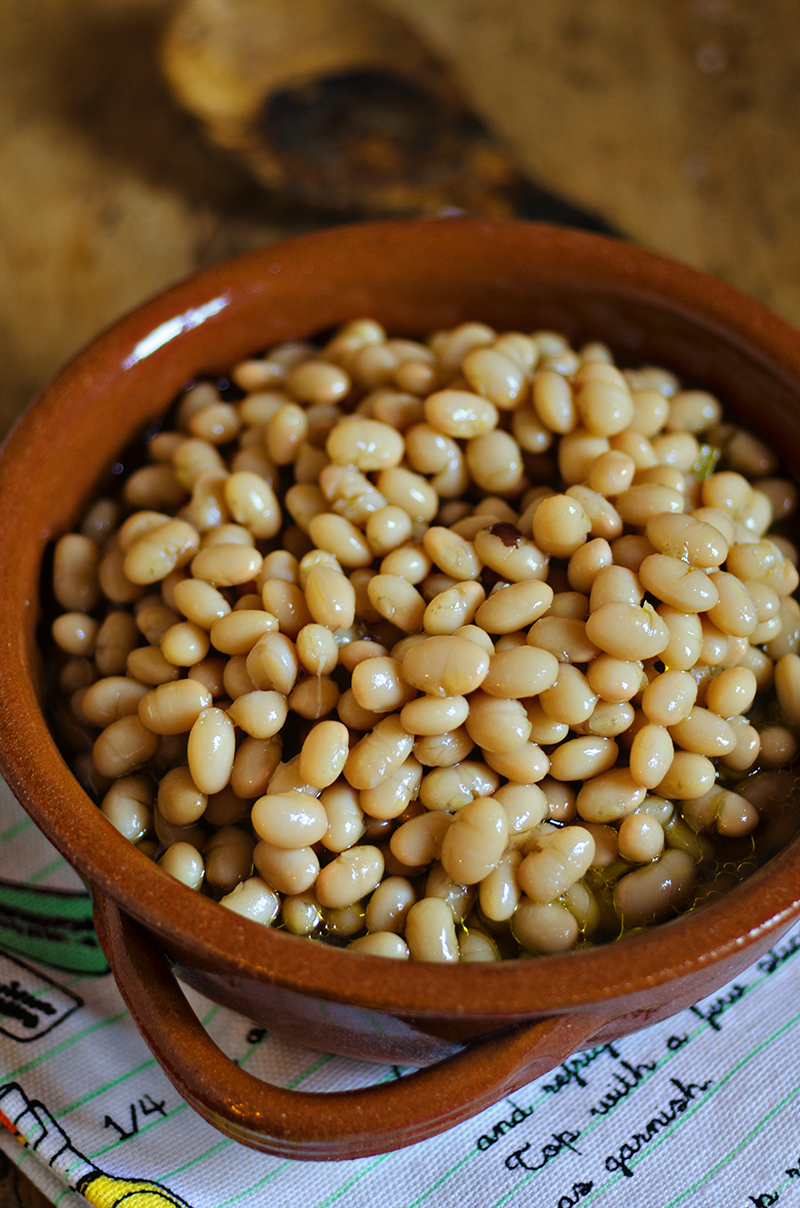
Fagioli nel fiasco
2
September 27, 2018
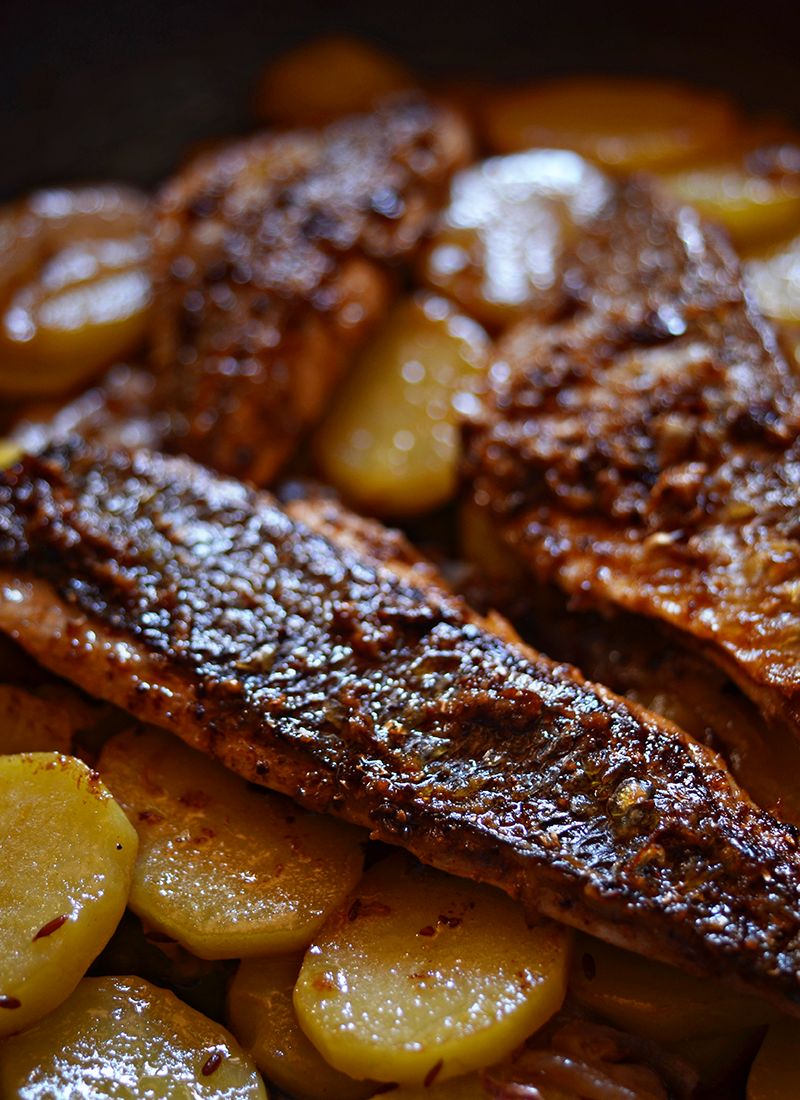
Masala Fish on a bed of Potatoes
June 20, 2018
Bacon and Cheddar Bread
1
May 16, 2018
Cubotto
6
May 07, 2018
Costruiamo assieme il Menù Lib(e)ro! - Let's build the Menu Lib(e)ro together!
April 23, 2018
Piadina Romagnola (Piemontese Version)
3
April 11, 2018
Agretti or Barba di Frate
March 01, 2018
Cappelletti di Manzo in Brodo
1
February 12, 2018
Bergamot Curd
1
January 29, 2018
Puntarelle
2
January 24, 2018
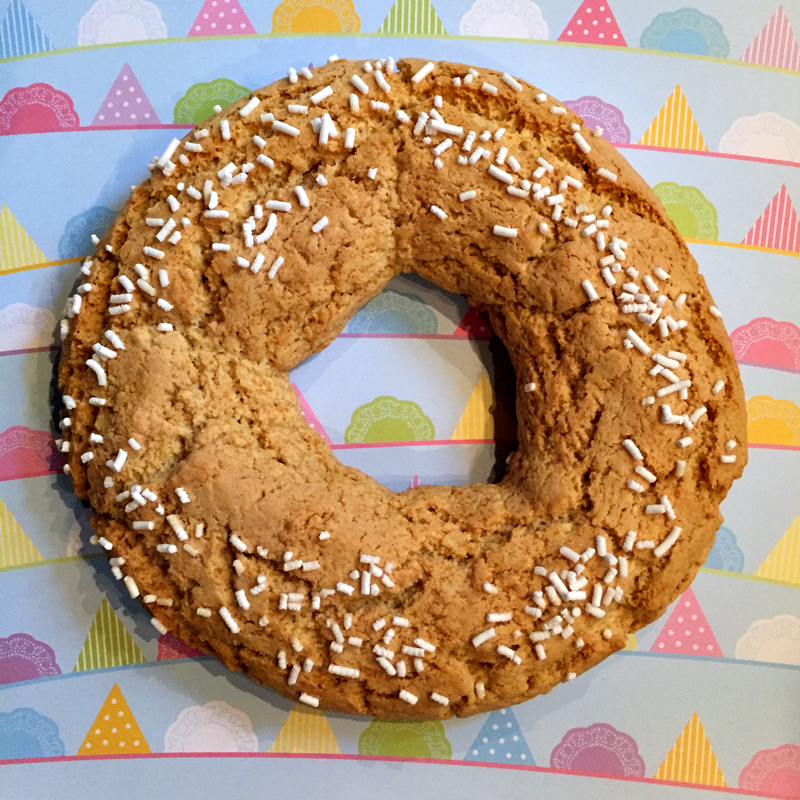
Ciambella Bolognese
1
January 08, 2018
Fried Artichokes - Carciofi Fritti
1
January 01, 2018
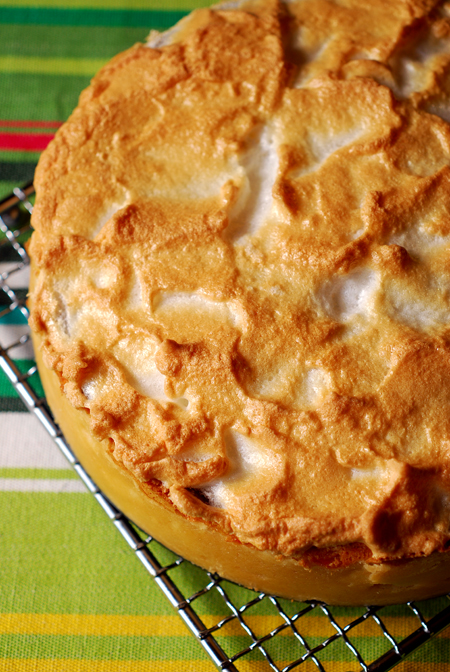
A fresh start
11
November 17, 2014
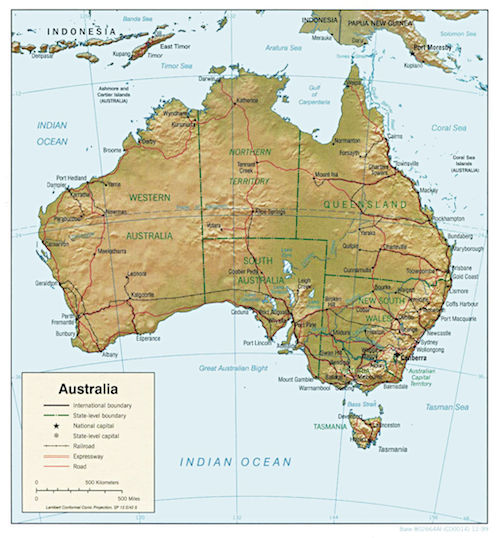
ABC Mondiale - Australia
76
October 13, 2014
In Ricordo - In Memory
7
October 01, 2014
World Culinary ABC - ABC Mondiale
September 30, 2014
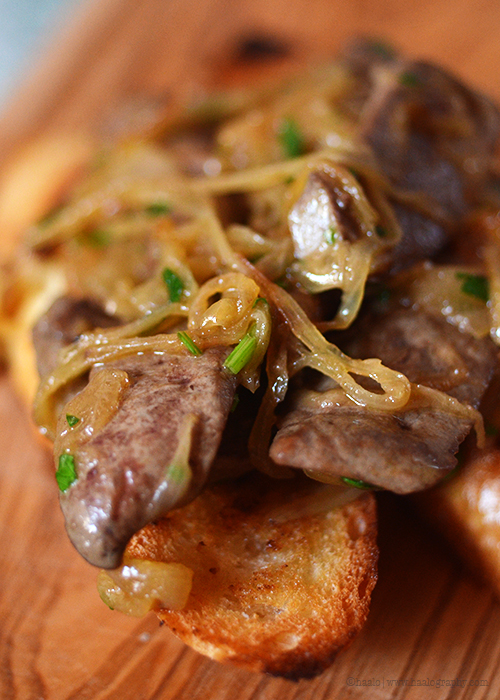
Fegato alla Veneziana
1
Older Posts
Subscribe to:
Posts feed
©
Cook (almost) Anything at Least Once
| All rights reserved.
BLOG TEMPLATE HANDCRAFTED BY pipdig